Adding content to your site may take some time and thought. With this in mind, I wanted to assign you a shorter mini-challenge to compliment our fifth challenge.
To complete this mini-challenge, you will need to explore a few of the widgets that Humanities Commons sites offer. As a reminder, HC sites are WordPress sites, so if you have any questions, general resources related to WordPress sites would probably be a helpful place to start.
What are widgets?
WordPress widgets are tools that help you to add features and content to your sidebars. Most of them require no work beyond activation, however, for some widgets, you may be asked to include your own text or images.
Examples
There are a number of different widgets for you to choose to include in your Humanities Commons site. Additionally, the widgets available to you depend upon the theme your site uses. Here are a few that may be of interest…
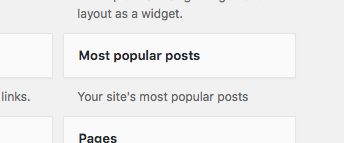
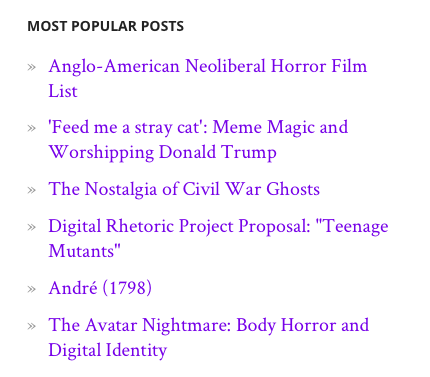
Most Popular Posts: This widget will maintain a list with links to your most popular posts. “Popularity” here is based on the number of visits each of your posts receives. Ten is the automatic number of posts listed, however, if you’d prefer a different number, this is customizable. Just like plug-ins, certain widgets may work better with one site genre than another. For example, this widget can work really well for a blog site, but may not make sense on course site.
How this widget appears on my site
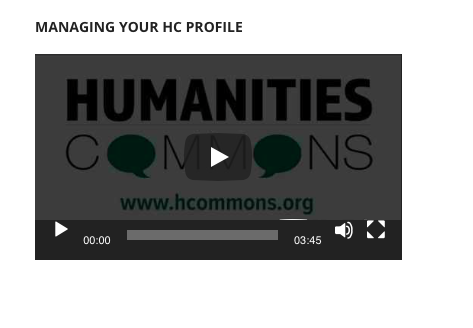
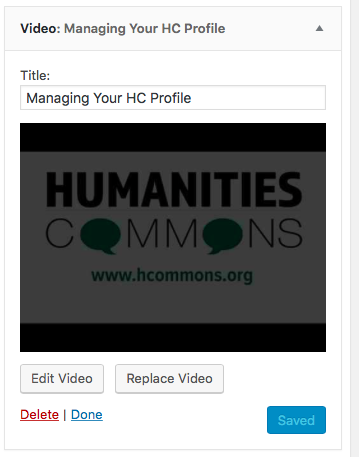
Video or Audio: By using either of these widgets, you can include a video or audio file onto your page.
How this widget appears on my site
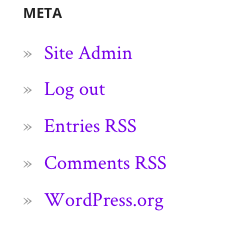
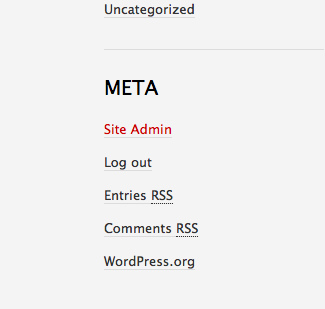
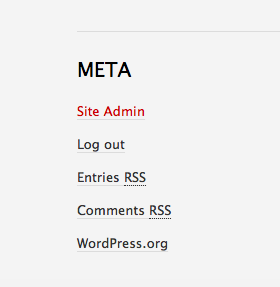
Meta: If the theme of your site does not include a “Meta” menu on its homepage, it might make your life easier to add this widget to your site. The meta menu will include a direct link to your dashboard, a link to log-out, RSS code for comments and entries on your site, as well as a link to the WordPress homepage.
How this widget appears on my site
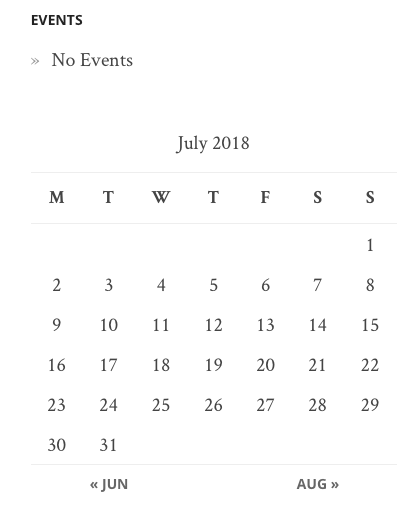
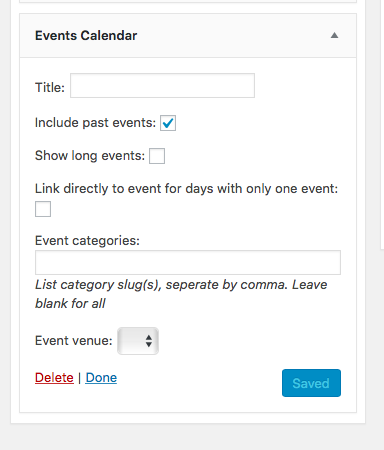
Events or Events Calendar: These widgets will keep a running list or calendar of the events you’ve scheduled. This is a great tool to use for sites that are dedicated to workshops, conferences, or communities, because they serve as reminders of your upcoming events.
How this widget appears on my site (I don’t have any events listed)
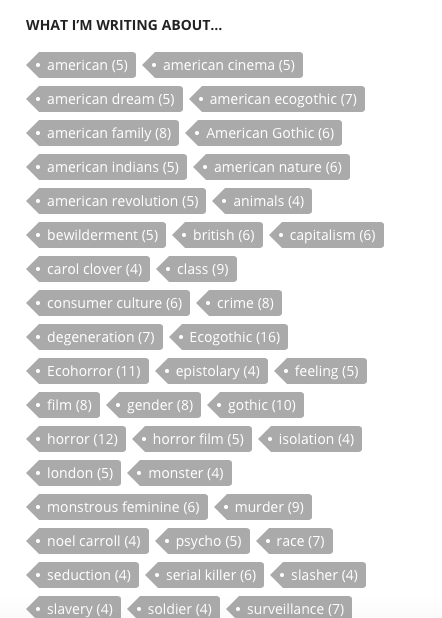
Tag Cloud: This widget creates a visual cloud of the various tags you’ve attached to your posts and pages. You can customize this widget by creating your own title for the image and choosing whether or not you’d like to show tag counts.
How this widget appears on my site.
How do I activate widgets?
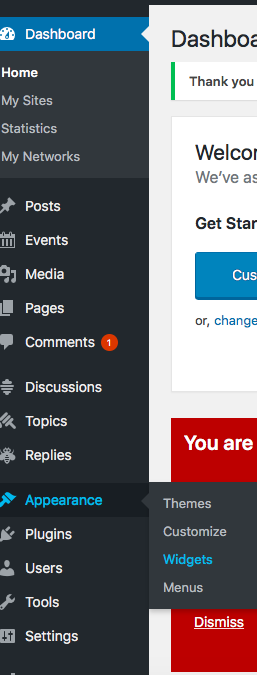
To select and activate widgets for your site, first go to your site’s dashboard. After hovering your pointer over “Appearance” on the left-hand menu, select “Widgets.”
Select “Widgets” from the left-hand menu
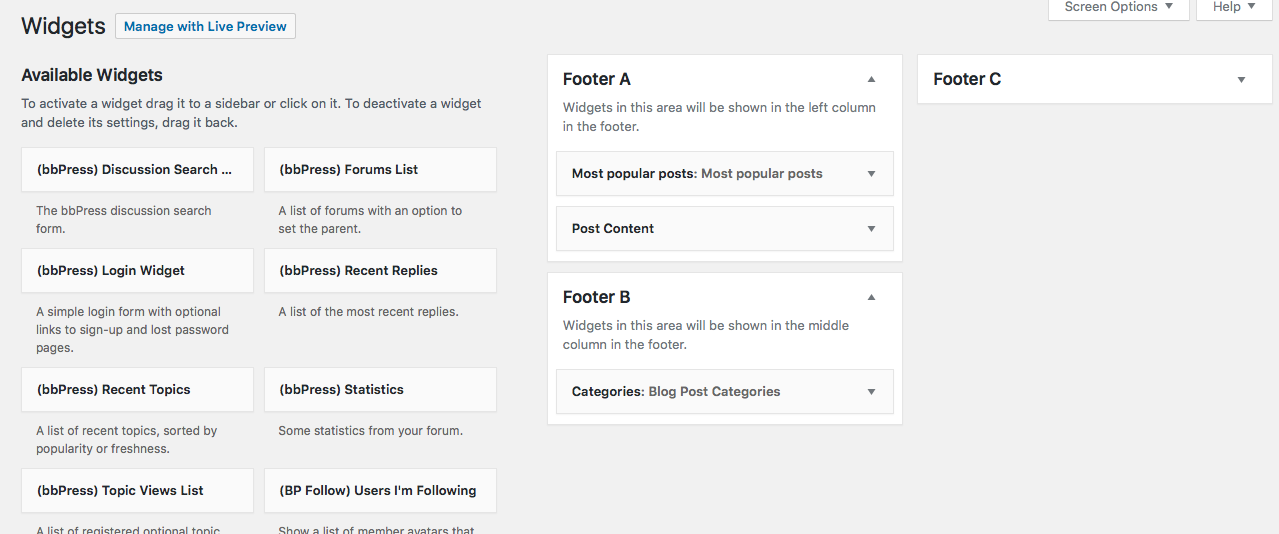
This will take you to a list of the widgets that are available for Humanities Commons sites to use. Read through the different widget options as there may be some that work for you that I didn’t cover in my brief list of example widgets.
The widgets page
Once you’ve found a widget that you would like to include on your site, click it and drag it to your desired footer (located on the right of the page). The available footers and their locations will be different depending on which theme your site uses. Note that you can include multiple widgets in a single footer. If your selected widget contains customization options or requires you to add information, you will need to fill this out after you’ve placed the widget in the appropriate footer. Don’t forget to click the save button once you’ve finished customizing!
The video widget is one example of a widget that requires customizationThe events calendar widget is another example of a widget that requires customization
To see how your widgets look, visit your site. The widgets will typically appear on every page of your site. If you don’t like what you see, or if you want to change things around, remember that you can always return to the widgets page and edit your work.
Share and Reflect
Please share any discoveries or questions that emerged as a result of exploring the available WordPress widgets on our group page, especially if you found a widget not discussed in this blog post!
If run into any issues as you complete this challenge, fear not! Your camp director is here to help. Reach out to the Humanities Commons Summer Camp through any of the following contacts:
Humanities Commons: Post your question/concern as a new discussion thread in our HC Group.
Welcome to your fifth challenge! We’re focusing on sites for a little bit longer.
To complete this challenge, you will need to add content to your site.
Tips
Because of the nature of this challenge, there are no specific guidelines that I can provide to you. You should feel free to add whatever content you think is best suited to your site. However, I do have a few tips to help make this process as stress-free as possible…
Focus on the genre! In our last challenge, you decided on a genre for your site. Consider what type of content best suits the purpose of your site.
Pace yourself! Most likely, you aren’t going to be able to include all of the content you want to add in these two weeks. Ideally, the site will become something that you continue to grow beyond this summer. That being said, don’t feel like you need to add a ton of content to the site right now. Instead, try to decide what you might want to add in order to make it presentable to potential visitors. What are some important details and information that you’d like to include? For example, I’m creating a site for a course that I will be teaching in the fall. Because it’s my first time teaching this class, I don’t expect (nor would I want) to quickly come up with an entire syllabus in two weeks. However, I do think that I can post a mini-blurb about the class, and a few reading excerpts that I know I want to teach.
Plan for the future!This tip is related to the last. You should reflect on how often you expect to update your site in the future. Whatever plan you make will likely also depend upon the genre of your site. In order to better insure that you will succeed in your expectations, you might want to make a rough plan for a schedule or frequency of updates/posts. This will help you to continue managing your site into the future.
Find inspiration!Not sure what to add to your site? Review some of the exemplary sites we shared for Challenge #4 or check out some of the sites being created by your fellow campers for inspiration. For example, as a result of looking through others’ sites, I decided that I’d like to add a page on my teaching experience to my personal site. This is something I might not have considered had I not looked at these other great examples.
Feel free to change!As you add content, you may notice that the theme of your site doesn’t seem to fit anymore. You can change your site’s theme (as well as its colors, header image, menu, etc.) as much as you want.
Share your completed challenge
Once you’ve completed this challenge, share a link to your site with the group, we want to see your brilliant creations! Tell the group about your challenges and discoveries, as well as your plans for your site.
If you’re on Twitter, please share that you’ve completed the fifth challenge using our #HCSummerCamper hashtag. You should also share your site on social media, especially now that it has content!
I look forward to hearing your experiences and checking out your sites!
If you have any questions or if you run into any issues as you complete this challenge, fear not! Your camp director is here to help. Reach out to the Humanities Commons Summer Camp through any of the following contacts:
Humanities Commons: Post your question/concern as a new discussion thread in our HC Group.
To complete our fourth mini-challenge, you will need to explore a few of the plug-ins that Humanities Commons sites offer. HC sites are WordPress sites, so if you have any questions, general resources related to creating WordPress sites would probably be a helpful place to start. It is important to know that there are some limitations in terms of themes and plugins that HC can offer because of the complexity of the multinetwork system on which HC is based. In other words, not all plugins (or themes) under the sun can be utilized, however, there are quite a few that may be of interest…
How do I install plug-ins to my Humanities Commons site? How do I know what my options are?
To find the plug-in page, you must first get to your site’s dashboard. To do this, you can either append “/wp-admin” to your site’s url or click on “Site Admin” located on the “Meta” menu (this menu appears in different places depending on the theme your site is using, but it should be somewhere on your homepage).
Choose “Site Admin” to go to your site’s dashboard.
Once on your site’s dashboard, you can select “Plug-Ins” from the left-hand menu to take you to the plug-in page.
Choose “Plug-Ins” from the left-hand dashboard menu.
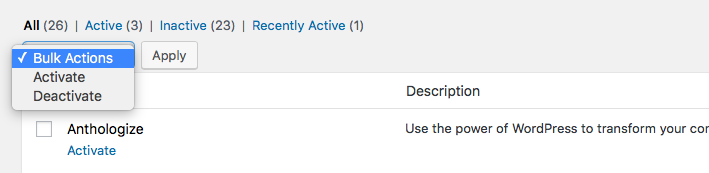
On the plug-in page, you will see a list of all twenty-six plug-ins currently available. To install any of these plug-ins, simply click the “Activate” link attached to the specific plug-in you desire.
The plug-ins pageOne way to activate a plug-in for your site is to click the “Activate” link attached to your desired plug-in.
You can also use the “bulk actions” menu to activate multiple plug-ins at once.
To activate multiple plug-ins at once, use the “Bulk Options” drop-down menu
Because describing each and every one of these plug-ins would result in a blog-post longer than anybody wants to read, I’m going to highlight four of my favorites. If you want to learn about the plug-ins that I don’t cover in this blog-post, explore the different options on your own and let us know what you’ve found by posting a discussion thread on the HC Summer Camp group page. You can also feel free to ask questions about any of the plug-ins on our group page, Twitter, or via email. You can find our contact information at the very bottom of this page.
Featured Plug-In #1: Commentpress
Listed as “Commentpress Core” on the plug-in menu, this is a powerful plug-in that allows readers to comment on the work published on the site. This plug-in works particularly well if you want to invite feedback onworks-in-progress, or encourage discussion on more finished work. Commentpress is unique from the other plug-ins in that it functions as both a plug-in as well as a theme. This means that upon installation, Commentpress will completely change the look of your site to match the Commentpress theme. Only activate this plug-in if you want your site to take on the “Commentpress look!”
If you’re curious to see what Commentpress-enabled sites look like, below are a few great examples:
By activating the Commentpress plug-in, visitors to your site will be able to comment on posts at the paragraph-level. Because of this power, the Commentpress plug-in is probably most useful for project and course sites.
If you have an article, seminar paper, dissertation, etc. that is a work in progress, using the Commentpress plug-in is a great way to crowdsource feedback. I’ve also seen this plug-in effectively used for conference panel sites that share the abstracts and/or conference papers of the speakers. Finally, I can imagine this being an effective tool to use on a class website. If your students are comfortable sharing their work publically, this could be a great way for them to receive feedback on their work from each other as well as from Humanities Commons members.
Featured Plug-In #2: GoogleDoc Embedder
The GoogleDoc Embedder allows you to embed documents (including, but not limited to, PDFs, MS Office, and ZIP files) seamlessly on your site using the Google Docs viewer. This is a great way to include your CV, syllabi, publications, and more, directly onto your site. You have the additional option of allowing visitors to download the files from your site’s page or not.
Using the GoogleDoc Embedder is super easy. After you’ve activated the plug-in, you should see a Google icon above your text box whenever you create or edit a post or page.
The GoogleDoc Embedder icon should appear while editing posts and pages.
Here are some examples of the GoogleDoc Embedder in action:
The WP-Polls plug-in allows you to embed polls into your posts. Visitors of your site can respond to your poll (you can customize your polls so that only registered users, only guests, or both can vote) and you are able to immediately view the results.
In order to create an embed a poll, after the plug-in is activated, go to your site’s dashboard, hover your pointer over “Polls” at the bottom of the left-hand menu, and select “Add Poll.”
Choose “Add Poll” to create a new poll for your site.
You will be taken to the new poll form. Once you’ve filled out the form, click the blue “Add Poll” button at the bottom of the page. You will be given a Poll ID code, which you should copy and paste into the page or post in which you’d like the poll to appear.
You will be given a shortcode for your poll.Copy and paste the provided short-code into the post or page.
Although I haven’t used this plug-in yet, I’m really excited to use it in my course site. I think this could be a great way to survey my students to get a better understanding of their experiences and interests. I may also use these polls as a way to quickly test for understanding.
I wasn’t able to find any examples on other HC sites of the polls plug-in, but here is my test poll (feel free to vote if you want 🙂 ).
Featured Plug-In #4: Zotpress
The Zotpress plug-in is a great way to cite sources accurately and quickly on your site. It works by connecting your site to your Zotero account. If you don’t have a Zotero account or don’t know what Zotero is, I highly recommend that you check it out! Because it helps with citation, the Zotpress plug-in is probably best used for blog sites or sites publishing work.
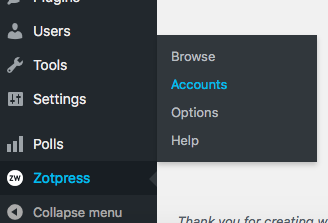
In order to use Zotpress, once it’s activated, go to your site’s dashboard, hover your pointer over “Zotpress” at the bottom of the left-hand menu, and select “Accounts.”
First choose “Accounts” to get your Zotpress plug-in started.
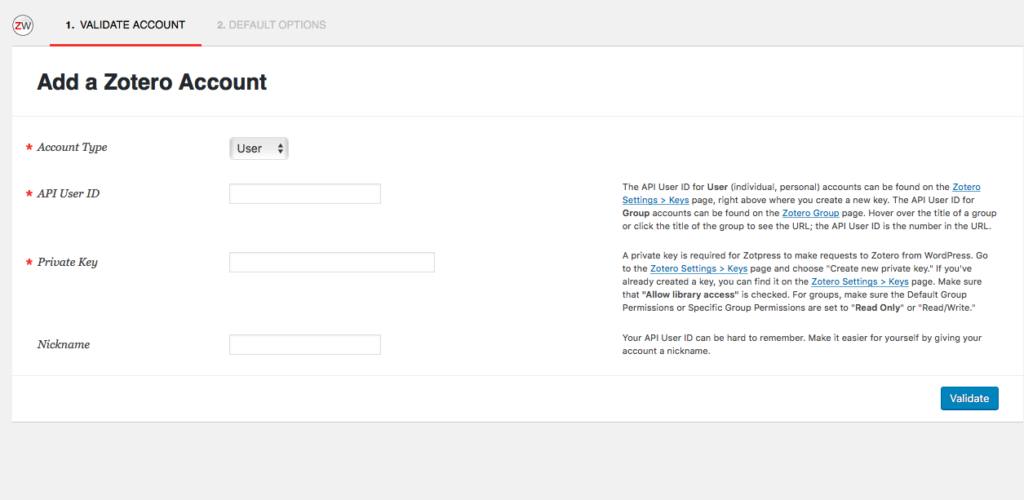
Once on the Zotpress page, click on the “Add Account” button on the right of the screen to sync your Zotero account to your site.
Choose “Add Account” located at the top right of the screen.Provide the needed information so that your Zotero account is synced.
Once this is complete, you will be able to easily include citations (both in-text and bibliographies) on your posts using the Zotero tool which should now appear whenever you are editing or creating a post or page.
The Zotpress tool should now appear whenever you create a new page or post.
Share and Reflect
Please share any discoveries or questions that emerged as a result of exploring the available WordPress plug-ins on our group page, especially if you fell in love with a plug-in not discussed in this blog post!
If you have any questions or if you run into any issues as you complete this challenge, fear not! Your camp director is here to help. Reach out to the Humanities Commons Summer Camp through any of the following contacts:
Humanities Commons: Post your question/concern as a new discussion thread in our HC Group.
Welcome to your fourth challenge! Can you believe we’ve already come so far? This summer is going by quickly!
Our fourth challenge is all about Humanities Commons sites. In order to accomplish this challenge, you will need to create your own site on Humanities Commons. Since building a site is a pretty tall order, I’ve divided the full work of creating a site between this challenge and Challenge #5. For now, all you need to do is build the site and design its look. In the next challenge, you will add, or at least begin to add, the content.
So, for Challenge #4, you will need to:
Decide what type of site you want to build.
Create and claim your site’s domain.
Design your new site’s appearance.
If you already have a Humanities Commons site, you can still participate! You can either create a new HC site (there is no limit to how many you can make) or take the time to spruce up your extant HC site.
What type of site should you build?
I was really surprised when I discovered the many different possible types of Humanities Commons sites. HC users have been really creative in their ability to design their HC sites to fit their present needs. Below, I’ve included a list of different types of HC sites I’ve come across along with a few examples of each. This, however, is nowhere near an exhaustive list. Basically, if you can dream it, you can build it. In deciding which type of site would best suit you at this present moment, consider what you’d like the site to accomplish. Are you currently working on a task that a website would make easier? Do you have a project, document, or event that you’d like to share with a broader audience? Would your upcoming course benefit from the addition of a digital meeting-space?
Non-Exhaustive List of HC Site Genres
Blog A blog can provide a space for you to keep track of your reading, work out future article or book ideas, keep track of an idea or a subject of interest over time, reflect on your teaching, and so much more. The benefits of a blog not only rest in their function as a journal, but they can also provide visitors with a greater sense of your passions and interests as an academic and/or educator. Since HC sites are connected to your HC profile, your professional information will be tied directly to the thoughts you post on your blog.
Personally, I am currently using my blog as a space for my comprehensive exam notes. This method enables me to tag each entry which is already helping me to make connections that I otherwise might have missed.
I also recently noticed that HC sites are incredibly discoverable through my blog. After posting my notes for the 1824 American play, “Superstition, or the Fanatic Father,” I Googled the play’s title to see what I could find. To my delight, I found that my blog post came up as the second (!) search result, just under its Wikipedia page. Following this discovery, I received an email from a scholar whose work I greatly admire. She had found my blog (including my post about one of her articles) through a Google search and asked me to contribute a review to an upcoming journal issue she is editing. Who knew a blog would provide so many benefits!?
Personal Site You might want to create a personal site if you have more information and media that you’d like to share, but that doesn’t fit on your HC profile page. Users have created personal sites that include links to their publications, video and audio files of interviews and podcasts on which they were featured, and PDFs of syllabi, among others. You will notice that many of the personal sites on this list and the blogs from the list above include a mix of features from both genres. This is a great way to ensure that your blog is a part of your professional image.
Digital Journal So far, I’ve only come across one digital journal (The Sheffield Gender History Journal) on Humanities Commons, however, it seems really successful. This digital journal provides a space for graduate students and professors from the University of Sheffield to publish short articles for the public to access, as well as to build a sense of community across disciplines within their university.
Course Site If you’re teaching a course in the future, you may want to consider building a site for your course. Users who have created course sites on Humanities Commons have used it as a space for the syllabus, worksheets, and readings to be located. Because anyone with a WordPress account can comment on HC sites, it is also easy to have students comment and respond to posts on your course site. To learn more about how the American literature course site listed below was used, check out my interview with the site’s creator.
Event Site Are you chairing a panel or organizing a scholarly event in the future? You can make a site for that! HC sites not only can help you to advertise your upcoming event, but it also can help you to archive the event afterwards. Users have used these sites to post CFPs for conferences, to share abstracts for panels, and to archive conference papers. Users have also used HC sites when hosting virtual and in-person workshops so that vital information, tools, and lessons can be posted for all workshop attendees and non-attendees to see, both during and after the workshop. This is a great way to make the discussions and ideas shared at your event accessible to more people.
(Yes, I did include this site as an example below!)
Digital Project Site If you are working on or completed a digital project, HC sites are a great place to house it. Again, because HC sites are directly connected to your HC profile, this allows your digital work to become a more visible part of your professional identity. HC sites are also great to use for digital projects because multiple users can ‘own’ and work on it. HC sites allows for the use of a number of different plug-ins (we will cover these in our upcoming mini-challenge). The commentpress theme+plugin allows visitors of your site to comment at the paragraph level on a work in progress.
Digital Anthology If you teach or study literature that is old enough to be considered free-use, creating a digital anthology is a great option. One of the anthologies below was used in a course on early American literature in lieu of a traditional textbook. By creating an anthology for your class on a HC site, you free your students from the burden of paying for and carrying around a bulky printed anthology.
Claiming a Domain and Establishing Your Site on Humanities Commons
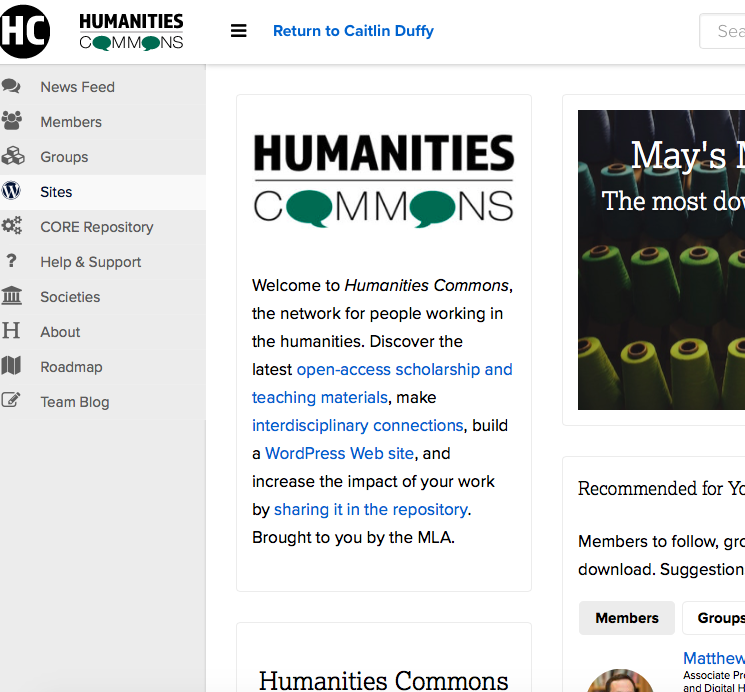
To create a Humanities Commons site, first click the “Sites” tab located on the left-hand menu below the HC logo.
Click the “Sites” option from the left-hand menu
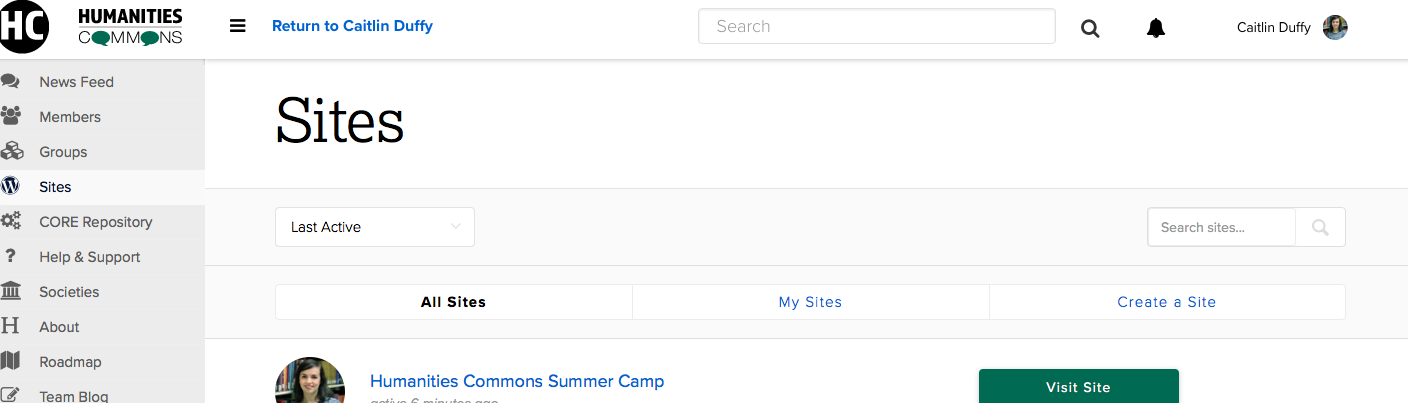
Once on the Sites page, select the “Create a Site” link on the top right of the screen.
Choose “Create A Site.”
This should take you to a form which you must fill out in order to create your site. The very first section of this form asks you to create your site’s domain.
The “Create a Site” form
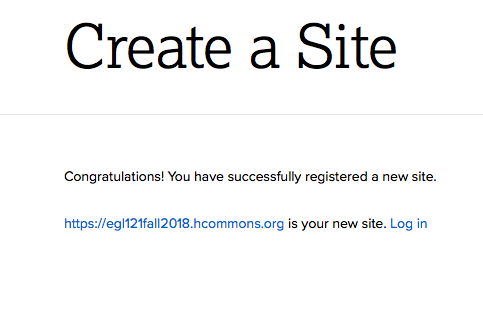
Designing Your Site’s Appearance
Once you’ve finished claiming a domain and establishing your site, you will be presented with a link to your site. Click on the link to get started.
Click on your site’s link.
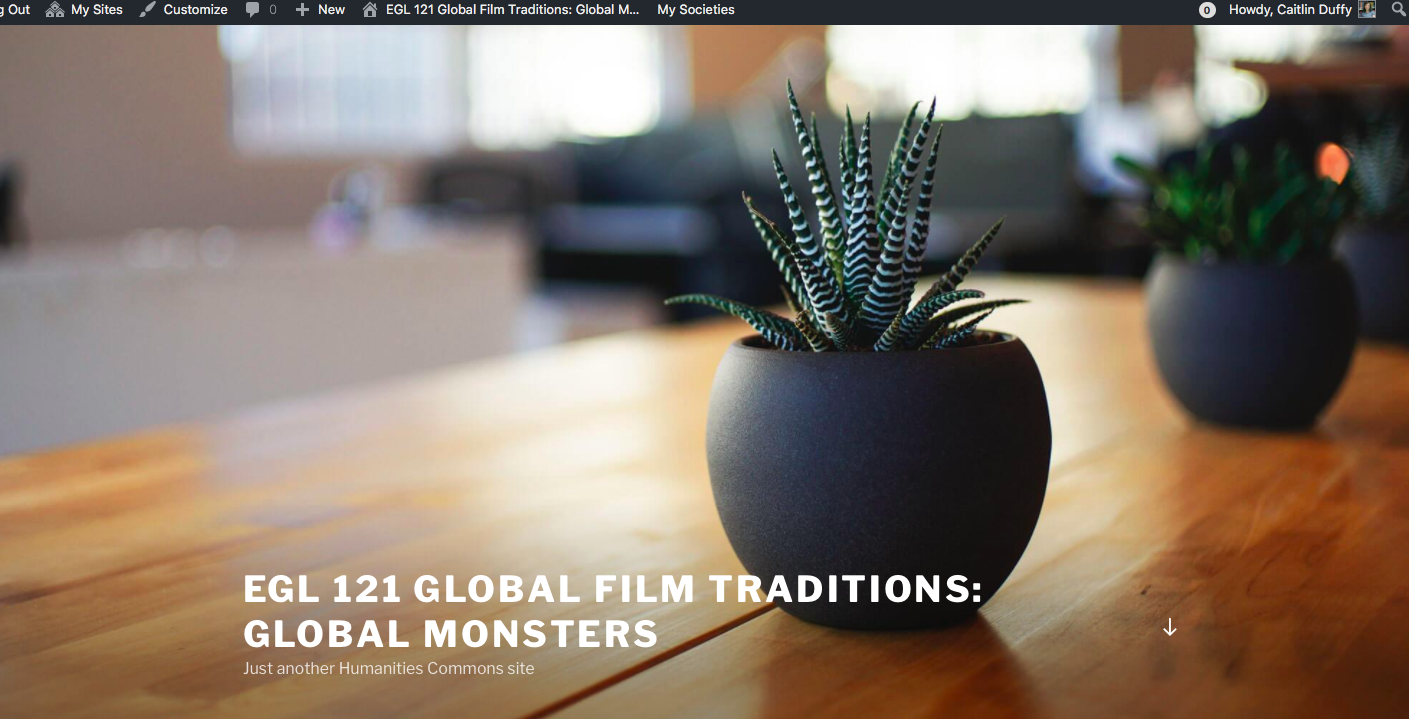
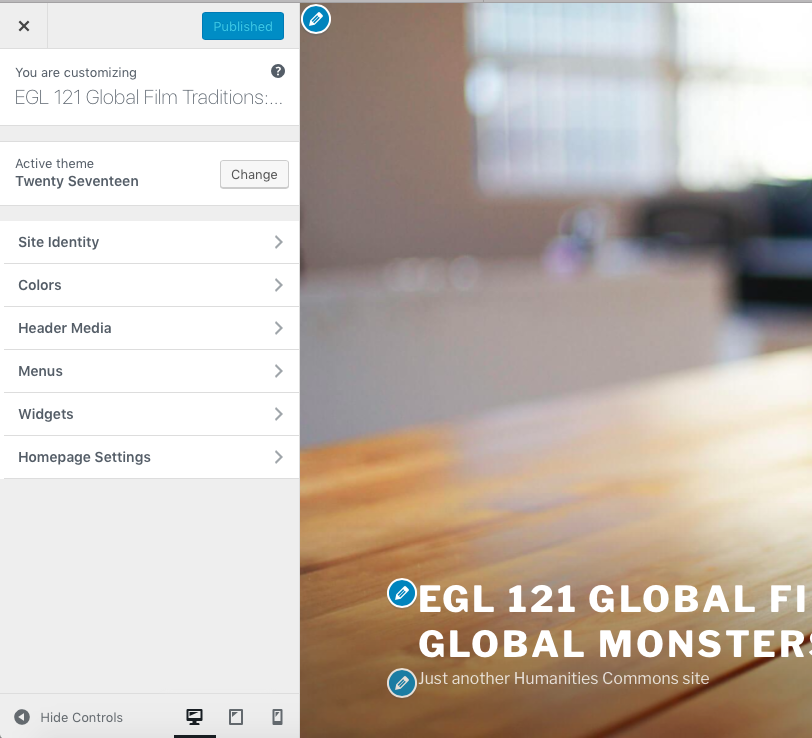
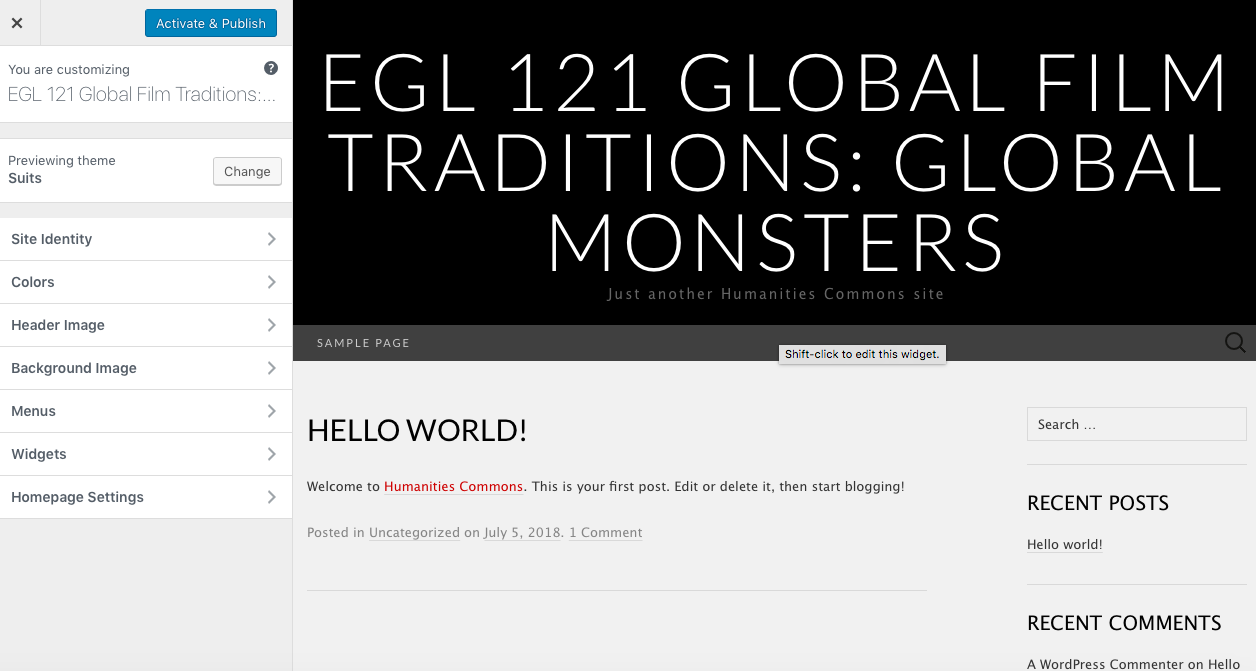
Click “Customize” on the top left of your site’s homepage to begin designing your site’s look.
Click on “Customize”The customization menu
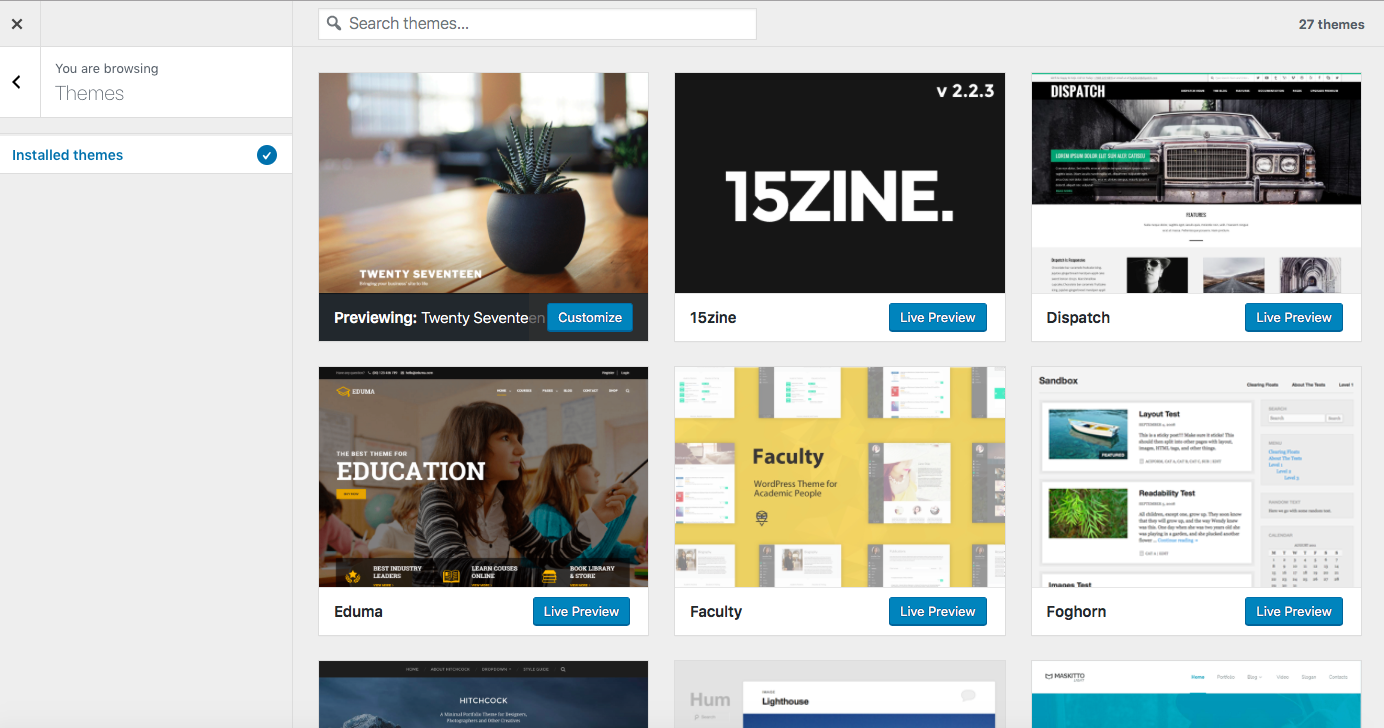
The first thing you should do is decide on your site’s theme. Click the “Change” button on the customization menu. This will allow you to see all twenty-seven themes that you can choose from. I recommend trying out a bunch of different themes before deciding on one.
The various theme options on HC sites
To decide on a theme for your site, click the “Live Preview” button next to the theme of your choice. This will give you the opportunity to view your site using this theme. It will also let you see the different options that each theme gives you. For example, some themes have a banner image, while others don’t. In deciding which theme works best for your site, consider your site’s purpose. How will its information be best organized? Who is the target audience for your site? Which theme works best to deliver information to this group? Should the site be more visual or more textual?
A theme preview
Once you’ve chosen a theme, make sure to click the “Publish” button at the top of the customization menu. This will save your changes and make them live for any visitors of your site. After that, go through the other customization options to further manage your site’s appearance. After any changes, make sure you hit “Publish” so that your work is saved.
To leave the customization window, click the “X” on the top left of the customization menu. This will bring you back to the normal view of your site. If you want to create multiple pages and a menu for your site, you will need to find the “Site Admin” link. This should be somewhere on your site’s homepage, usually on the right-hand side near the bottom. By clicking that, you will be taken to the administration page for your site.
Choose “Site Admin” to continue working on your site’s look
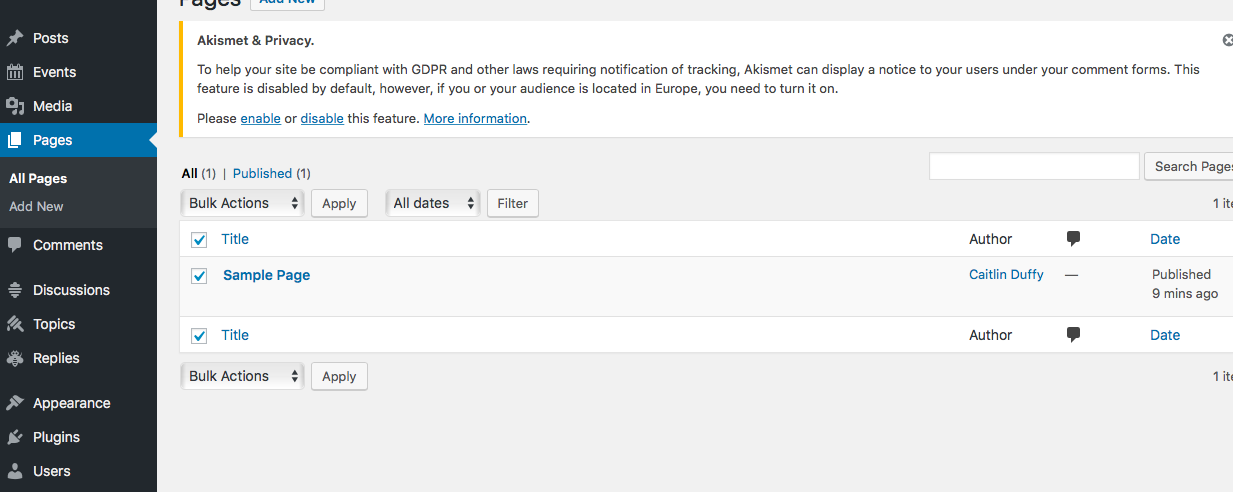
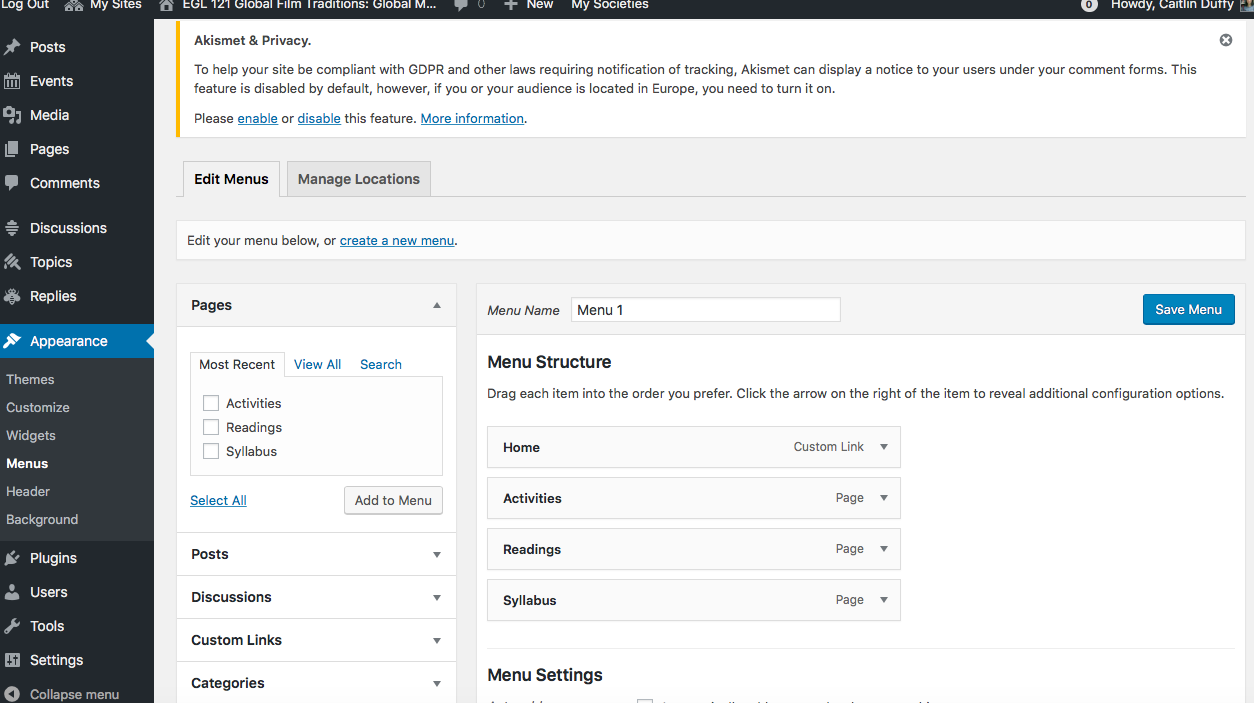
Once there, click the “Pages” link on the left-hand menu, then click the “Add New” button at the top of the pages page. For now, just write the title of your page in the text box marked “Title,” then click “Publish.” Keep repeating these steps as many times as you need until you have all the pages you’d like for your site. For the course site I’m creating for this challenge, I built three pages: “Home,” “Readings,” and “Syllabus,” while my personal site has five: “Home,” “Blog,” “Conferences,” “Publications,” and “Contact.” Consider how best to organize your site based on the type of site you’re building, your audience, and personal preference.
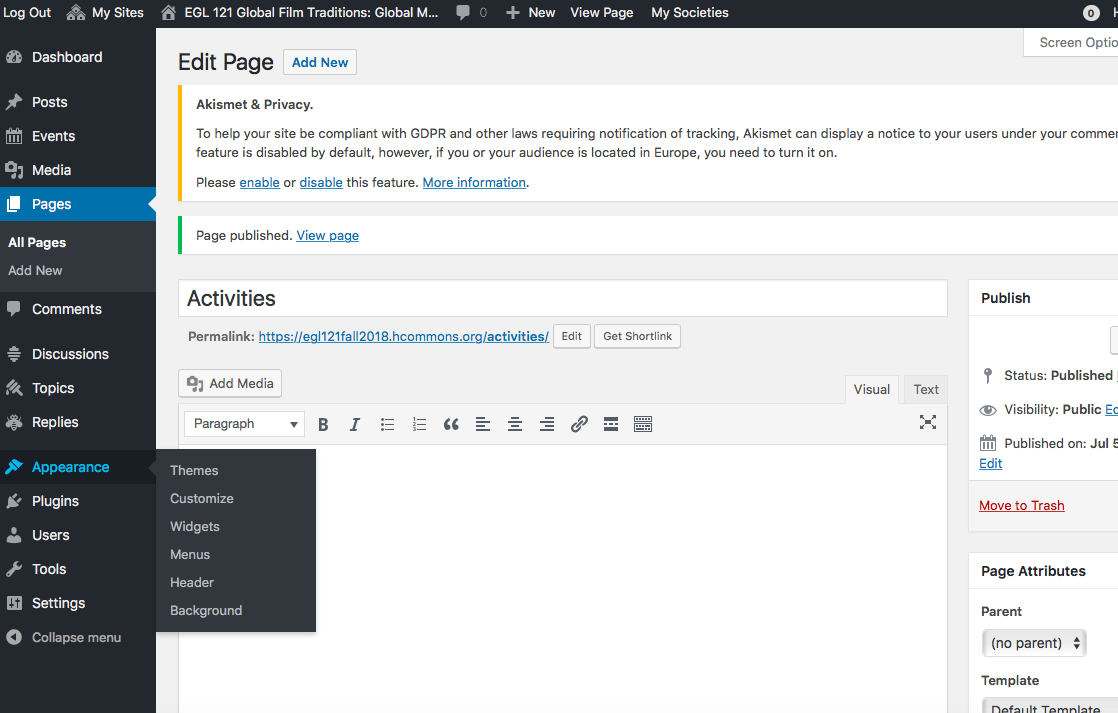
Once you’ve created some pages, hover your pointer over the “Appearance” tab on the left-hand menu and select “Menus” from the options that appear. On the Menus page, you can select which pages you’d like to include on your site’s menu, as well as the order in which they appear. Once you’re satisfied with your menu, click “Save Menu.”
Choose “Menus” from the Appearance menuSelect the pages you’d like to include on your menuMy menu now appears just below my site’s header
Of course, there is a lot more you can do to make your site look perfect- I’m sure you noticed how many buttons and menus there are on the customization and administration pages! For this post, I just wanted to highlight a few basic actions you can take to make your site look clean, professional, and organized. Feel free to play around and explore the many other tools and options available to you. If you discover anything really neat, please share it with the group!
Share your completed challenge
Once you’ve completed this challenge, share a link to your site with the group, we want to see your brilliant creations! Tell the group about your challenges and discoveries, as well as your plans for your newly created (or recently updated) site.
If you’re on Twitter, please share that you’ve completed the fourth challenge using our #HCSummerCamper hashtag. You should also share your site on social media!
I look forward to hearing your experiences and checking out your new sites!
If you have any questions or if you run into any issues as you complete this challenge, fear not! Your camp director is here to help. Reach out to the Humanities Commons Summer Camp through any of the following contacts:
Humanities Commons: Post your question/concern as a new discussion thread in our HC Group.